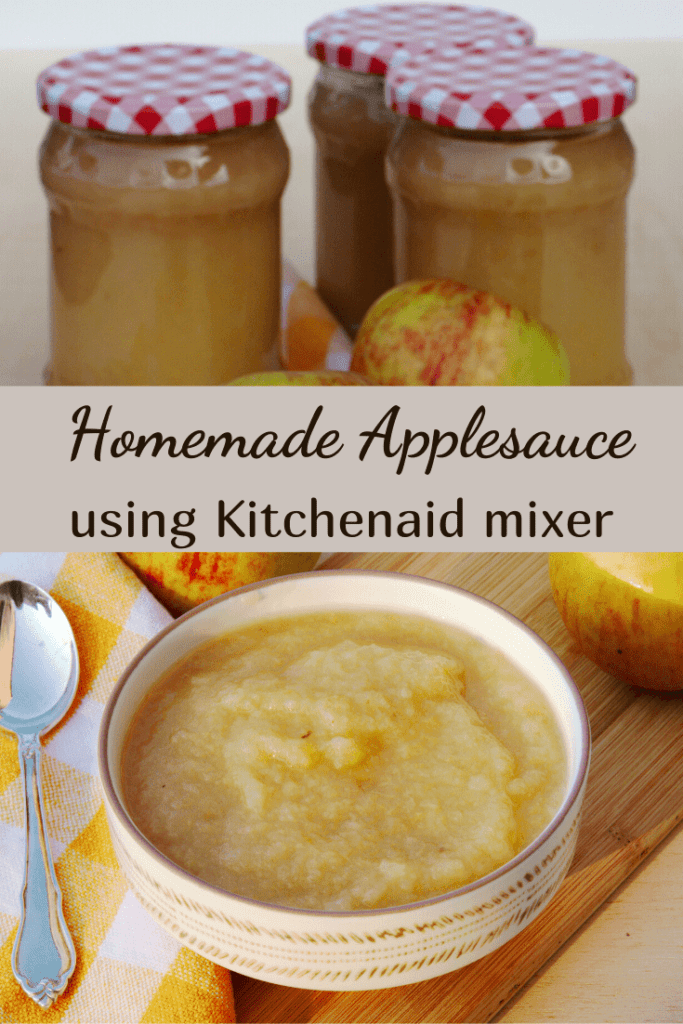
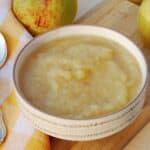
Applesauce using Kitchenaid Foodstrainer
Disclosure: This post contains affiliate links, meaning, at no additional cost to you, we will earn a small commission if you click through and make a purchase. Learn more
- Home
- Recipes
- Food Preservation
- Applesauce using Kitchenaid Foodstrainer
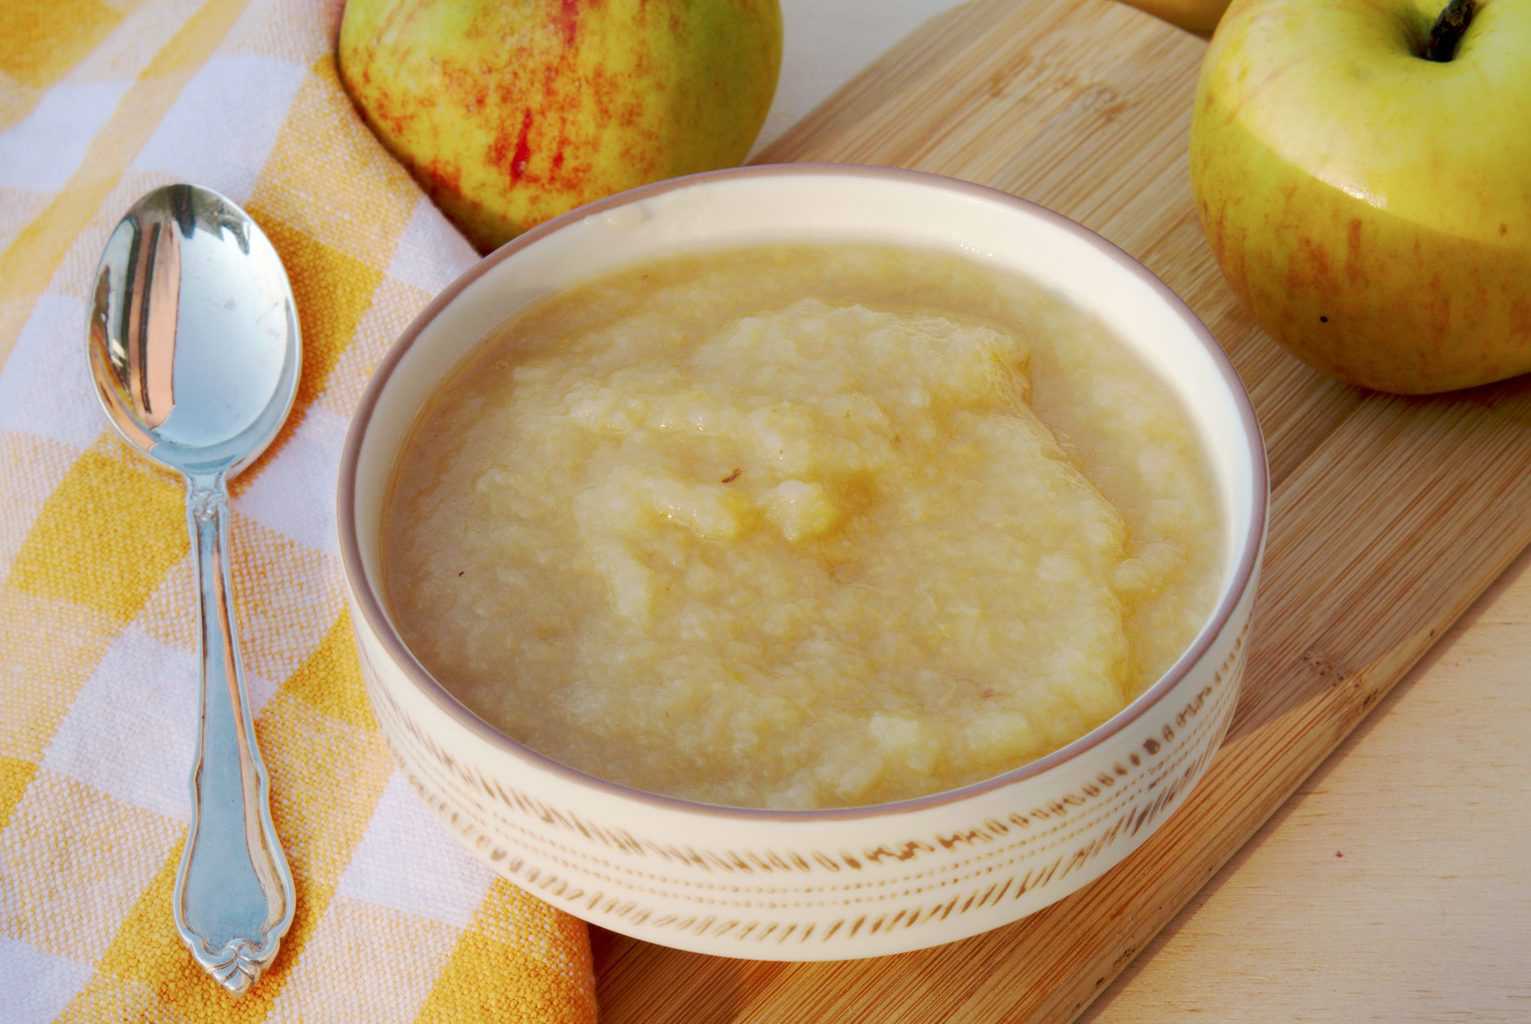
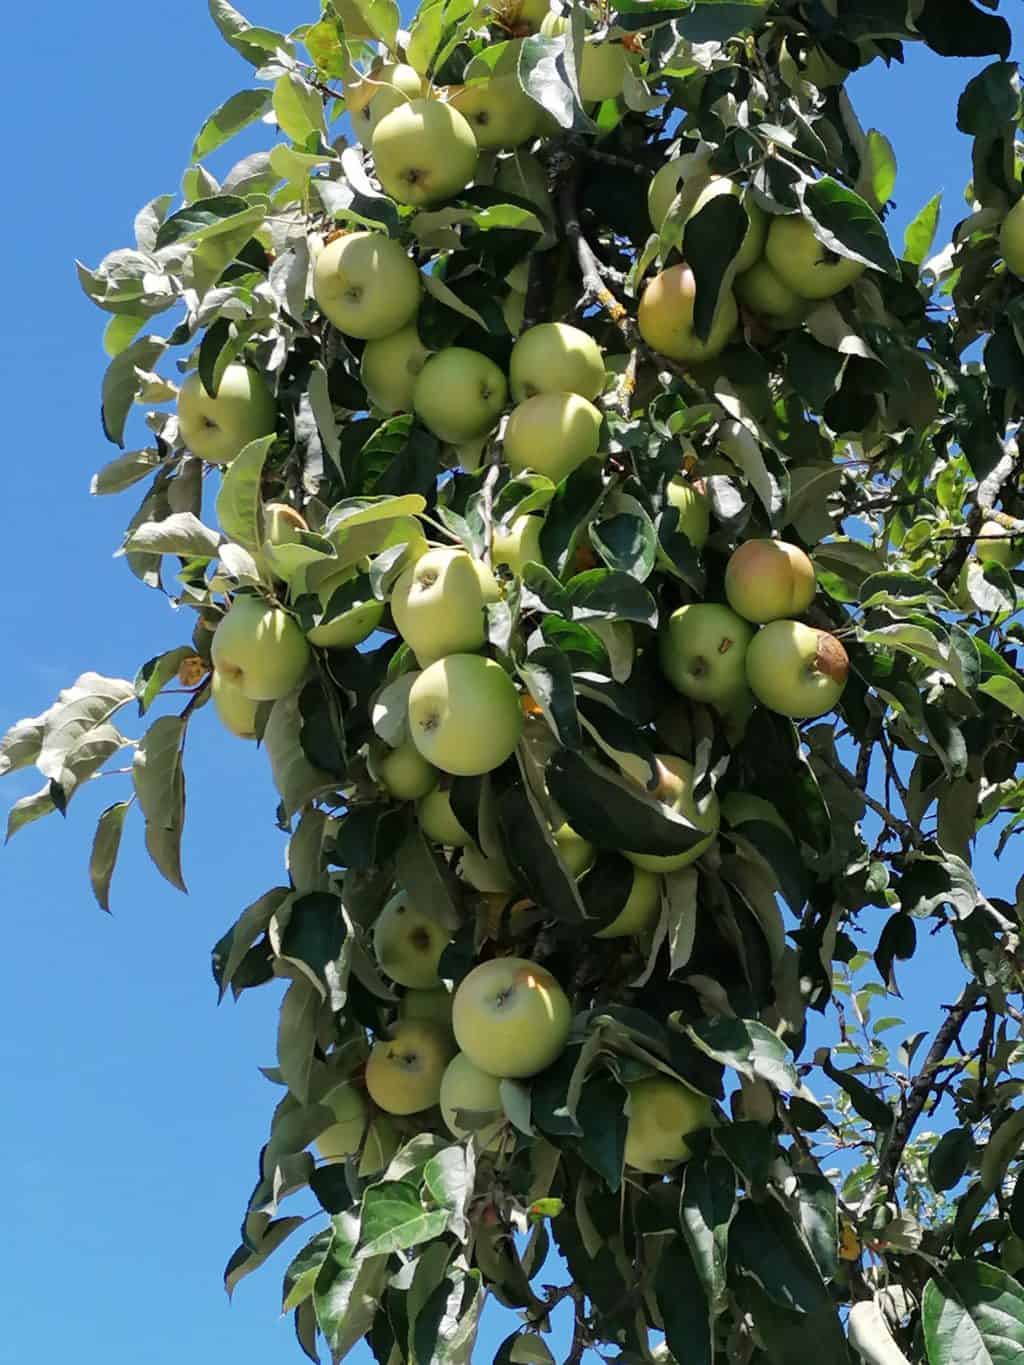
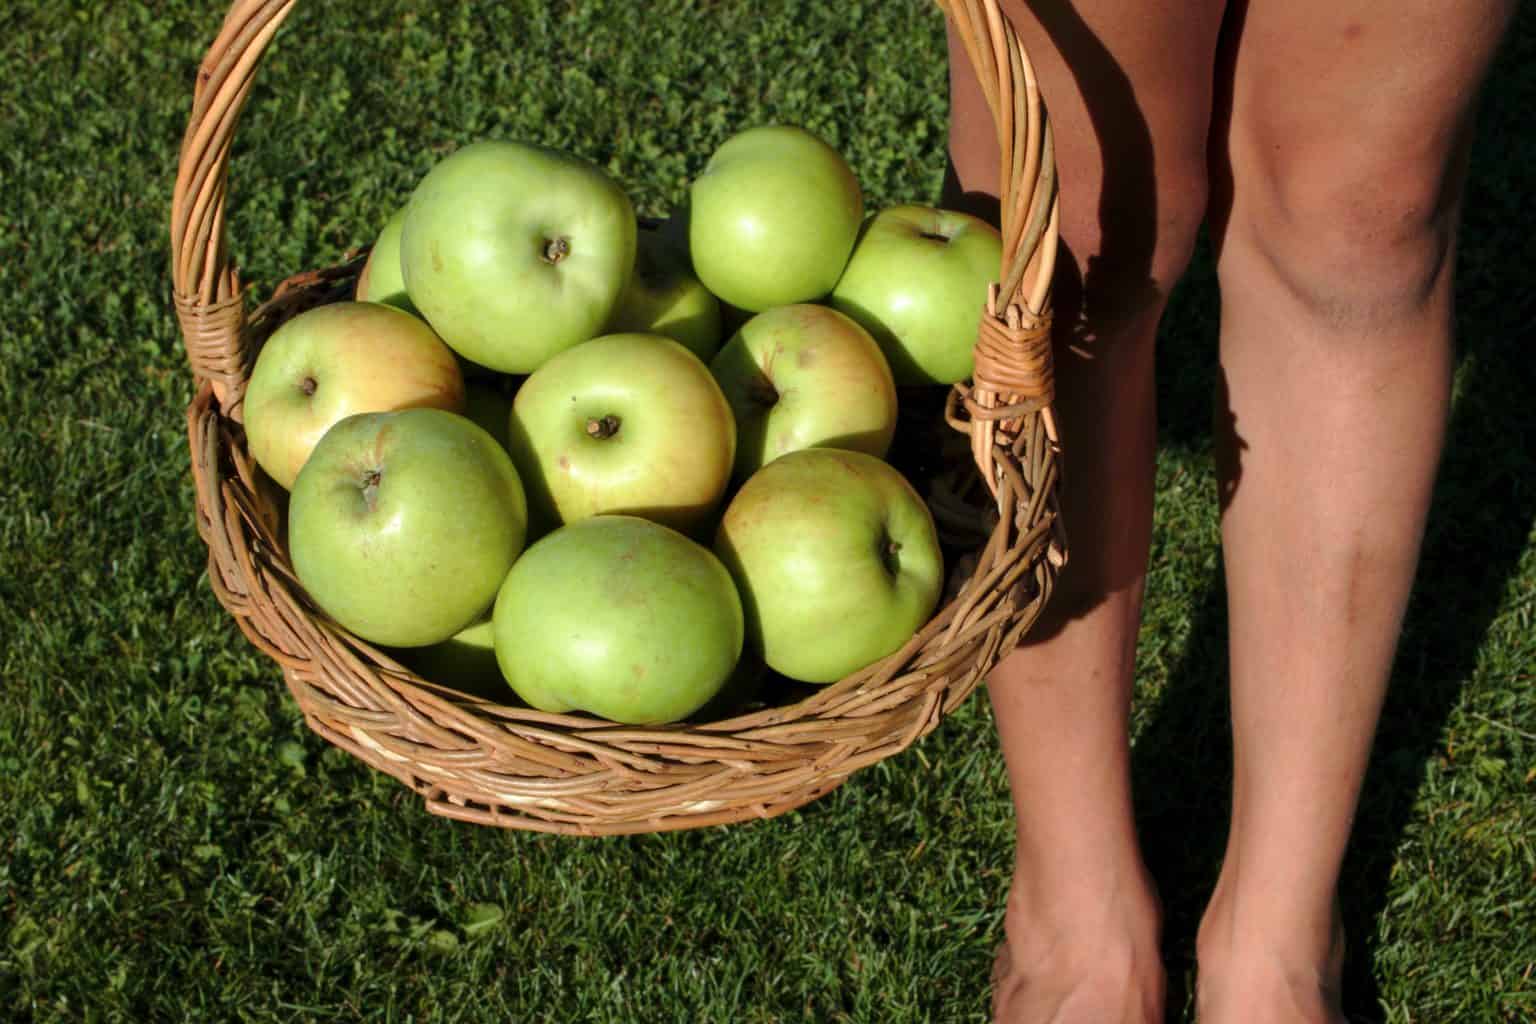
This homemade applesauce, made with a KitchenAid food strainer attachment, started with almost 2 crates of apples picked from a neglected tree down the road.
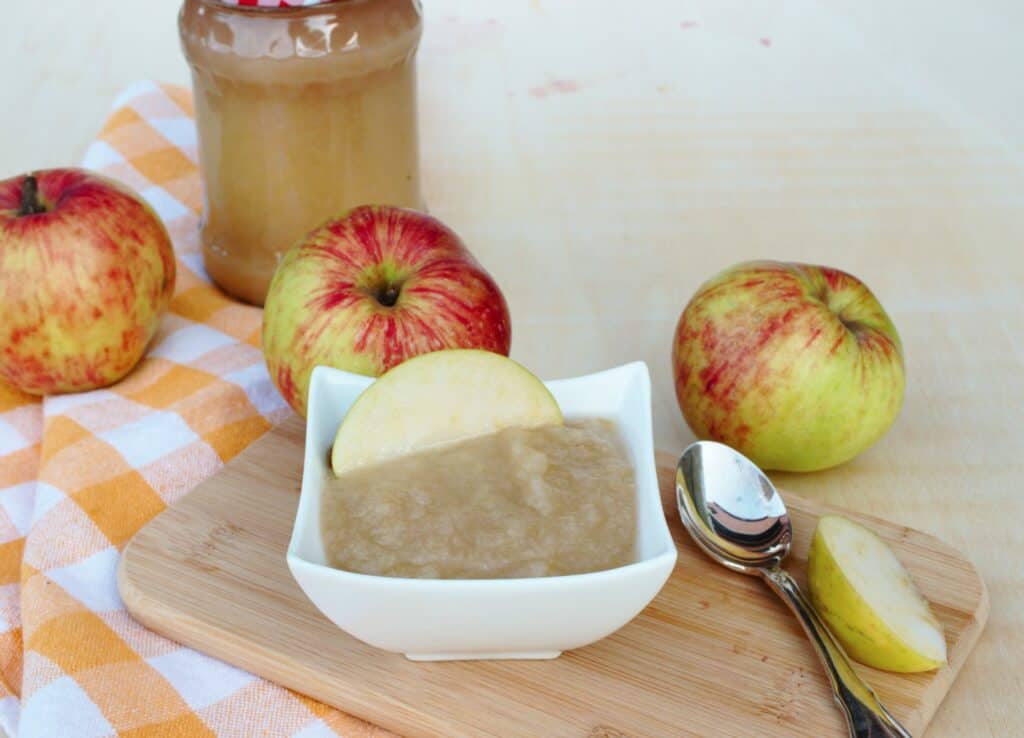
Homemade applesauce using a KitchenAid food strainer attachment is easy to make, and this covers simple home canning techniques for preserving it. Fresh organic apples were picked straight from a tree across the road at the end of August this year.
The tree stood on common land, and most neighbors were hesitant to pick from it — as a result, wasps had moved in, drawn to the rotting apples piling up on the ground. Eventually a few families in the neighborhood went out to pick some. With a big ladder and the closest proximity to the tree, this household probably ended up with the most — almost 2 crates of apples.
Table of Contents
Using Up the Surplus
After making chutneys, apple pies, and eating plenty raw, there was still a big crate of apples left in the cellar. Since the cellar doesn’t stay especially cold through the summer months, the apples had started to lose their crispness. Rather than let them go to waste, they went into homemade applesauce instead — a way to preserve them without too much elbow grease.
Two Ways to Make Applesauce
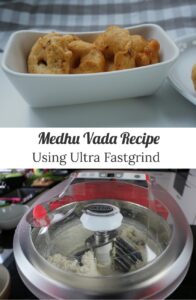
There are at least two ways to make homemade applesauce: cook the apples without peeling and pass them through a food mill for a purée, or peel, core and cook the apples first, then mash them in a blender or food mill. For smaller batches, a hand-operated food mill works fine — a KitchenAid food strainer attachment was used here mainly to save the elbows, given the sheer quantity of apples involved. The underlying principle is the same as for any canning project.
Equipment you will need
This post contains affiliate links, for which a small commission is earned at no extra cost to you.
- KitchenAid Stand Mixer
- KitchenAid Food Strainer Attachment (or a regular food mill)
- Silicone grip tongs
- Canning equipment (upcycled glass jars, a big pot for boiling the jars)
How to Make Applesauce Using a KitchenAid Food Strainer?
Ingredients List
- Apples of any variety (8kg used here)
- Juice of 3–4 lemons
Cooking Instructions
Prep and Cook:
Wash the apples and quarter them — no need to core them. Cook with enough water to just cover the apples.
Save the Apple Water:
Strain the apples and save the cooking water — it makes a naturally sweet drink. Cooled and refrigerated, it keeps for about a week.
Strain the Apples:
Pass the cooked apples through a food mill, or a KitchenAid food strainer attachment, to remove the skins and seeds.
Reheat with Lemon:
If the sauce has cooled by the time processing is done, reheat it gently with a little lemon juice — this also helps prevent the sauce from browning. Sugar and cinnamon can be added at this stage too, if you like.
Fill the Jars:
Fill the glass jars using a stainless steel funnel, leaving about 2cm of headspace, and wipe any excess from the rims.
Process the Jars:
Close the jars tightly and place them in a hot water bath. Boil for 20 minutes.
Cool and Check the Seal:
Lift the jars out gently and set them on a wooden board for 24 hours — this prevents cracking from contact with a cold surface. You’ll hear the jars popping as they seal, with the center of each lid drawing down. Press each lid to check: if it pops back, it hasn’t sealed properly; if it stays down and firm, it’s sealed and ready to store.
Ways to Use Homemade Applesauce
This unsweetened applesauce is genuinely versatile. Try it:
In baking: a good substitute for some of the fat or sugar in a recipe.
In porridge: stirred through for natural sweetness.
As baby food: simple and additive-free.
In desserts: just remember this version has no added sugar, so recipes may need adjusting.
Tips for Making Applesauce
No need to core the apples: just wash and quarter them — the food mill or strainer removes the skins and seeds later anyway.
Save the apple water: the water left over from cooking the apples is naturally sweet and makes a nice drink on its own.
Add lemon juice before canning: it prevents the sauce from browning, especially if it’s cooled down during processing.
Cool jars on wood, not a cold surface: setting hot jars on a wooden board for 24 hours after their water bath prevents them from cracking.
How Long Does This Applesauce Keep?
Properly canned and sealed, this homemade applesauce can be stored without refrigeration for up to a year — one of the real advantages of canning a big batch like this.
A No-Sugar Base
This is a no-sugar applesauce recipe by default, which makes it a clean base for whatever it’s used in — though it also means the sweetness has to come from elsewhere if it’s going into baking or desserts that expect a sweetened sauce.
Watch the Video
Recipe Card
Applesauce Using KitchenAid Foodstrainer
5 Stars 4 Stars 3 Stars 2 Stars 1 Star
No reviews
- Total Time: 90
- Yield: 8 servings 1x
- Diet: Vegan
Description
Simple homemade applesauce made from scratch using a KitchenAid food strainer attachment, canned to keep for up to a year without refrigeration.
Ingredients
- Apples of any variety (8kg used here)
- Juice of 3 to 4 lemons
Instructions
-
Prep and Cook:
Wash the apples and quarter them — no need to core them. Cook with enough water to just cover the apples.
-
Save the Apple Water:
Strain the apples and save the cooking water — it makes a naturally sweet drink. Cooled and refrigerated, it keeps for about a week.
-
Strain the Apples:
Pass the cooked apples through a food mill, or a KitchenAid food strainer attachment, to remove the skins and seeds.
-
Reheat with Lemon:
If the sauce has cooled by the time processing is done, reheat it gently with a little lemon juice — this also helps prevent the sauce from browning. Sugar and cinnamon can be added at this stage too, if you like.
-
Fill the Jars:
Fill the glass jars using a stainless steel funnel, leaving about 2cm of headspace, and wipe any excess from the rims.
-
Process the Jars:
Close the jars tightly and place them in a hot water bath. Boil for 20 minutes.
-
Cool and Check the Seal:
Lift the jars out gently and set them on a wooden board for 24 hours — this prevents cracking from contact with a cold surface. You’ll hear the jars popping as they seal, with the center of each lid drawing down. Press each lid to check: if it pops back, it hasn’t sealed properly; if it stays down and firm, it’s sealed and ready to store.
Notes
Stores without refrigeration for up to a year once properly sealed. This is a no-sugar applesauce, so recipes may need adjusting if used in baking or desserts.
- Prep Time: 60
- Cook Time: 30
- Category: Food Preservation
Nutrition
- Serving Size: 8
- Calories: 200
- Fat: 1
Frequently Asked Questions
No — just wash and quarter them. The food mill or strainer attachment removes the skins and seeds during processing, so coring isn’t necessary.
Properly canned and sealed, it stores without refrigeration for up to a year.
It helps prevent the applesauce from browning, especially if the sauce has cooled down during processing before it’s reheated.
Your feedback is valuable
If you try this recipe and love it, I would love if you come back and gave it 5 stars! Thank you so much for visiting Vital Fair Living – we’re so happy you’re here! I would love it if you can share this recipe using the social media buttons you see next to the post.