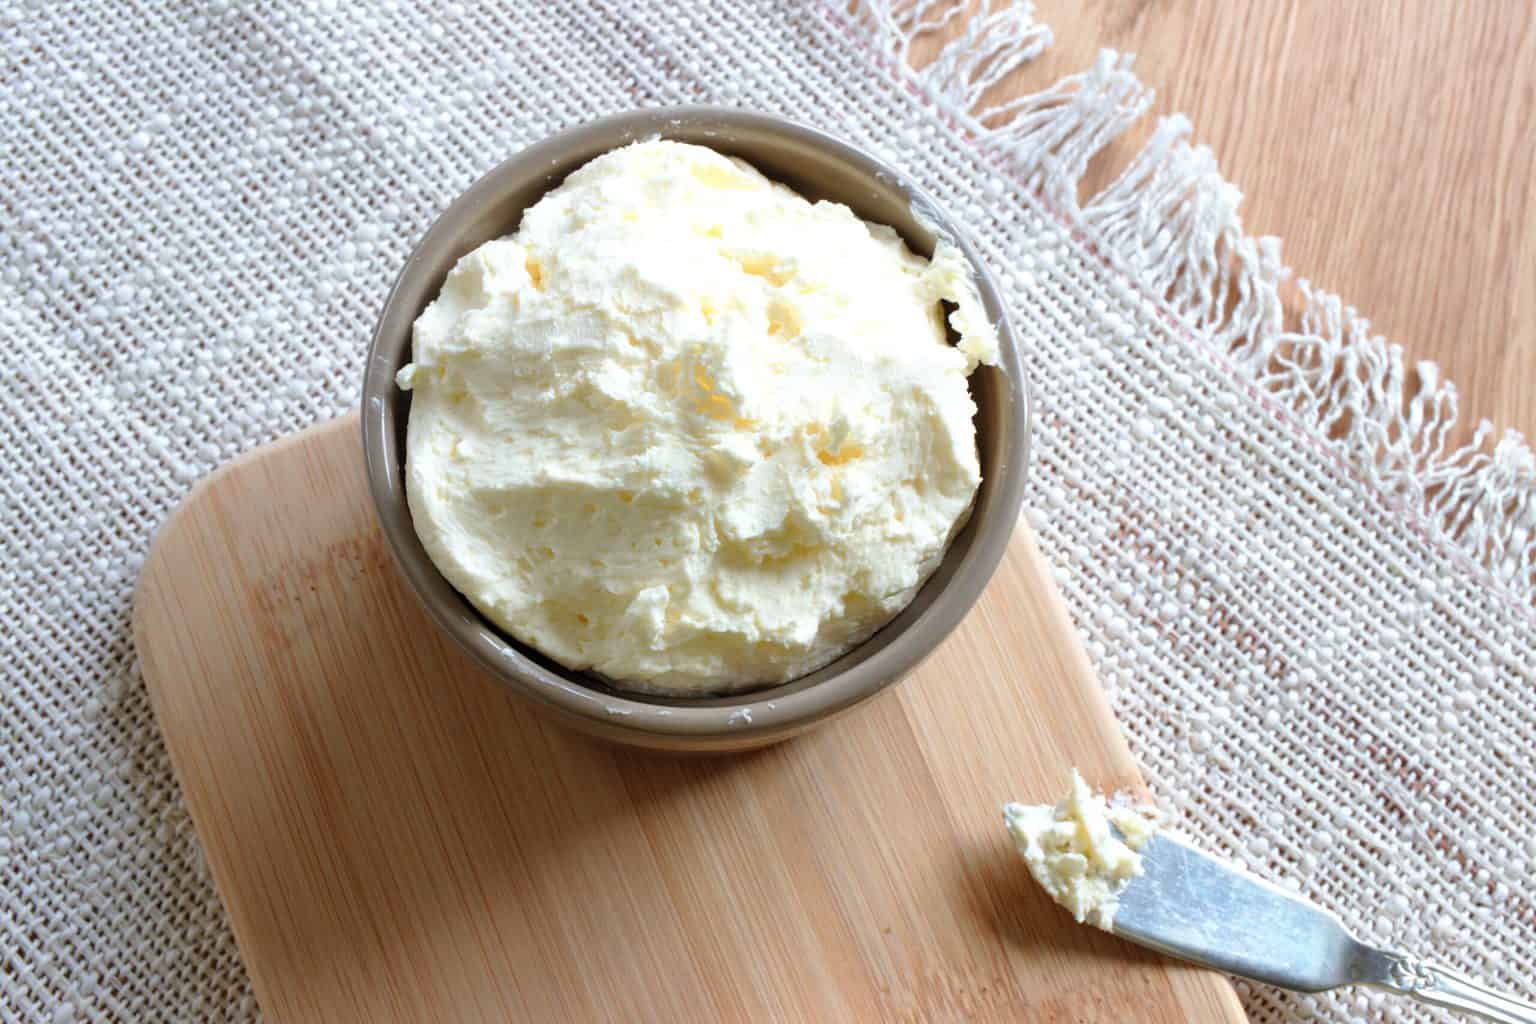
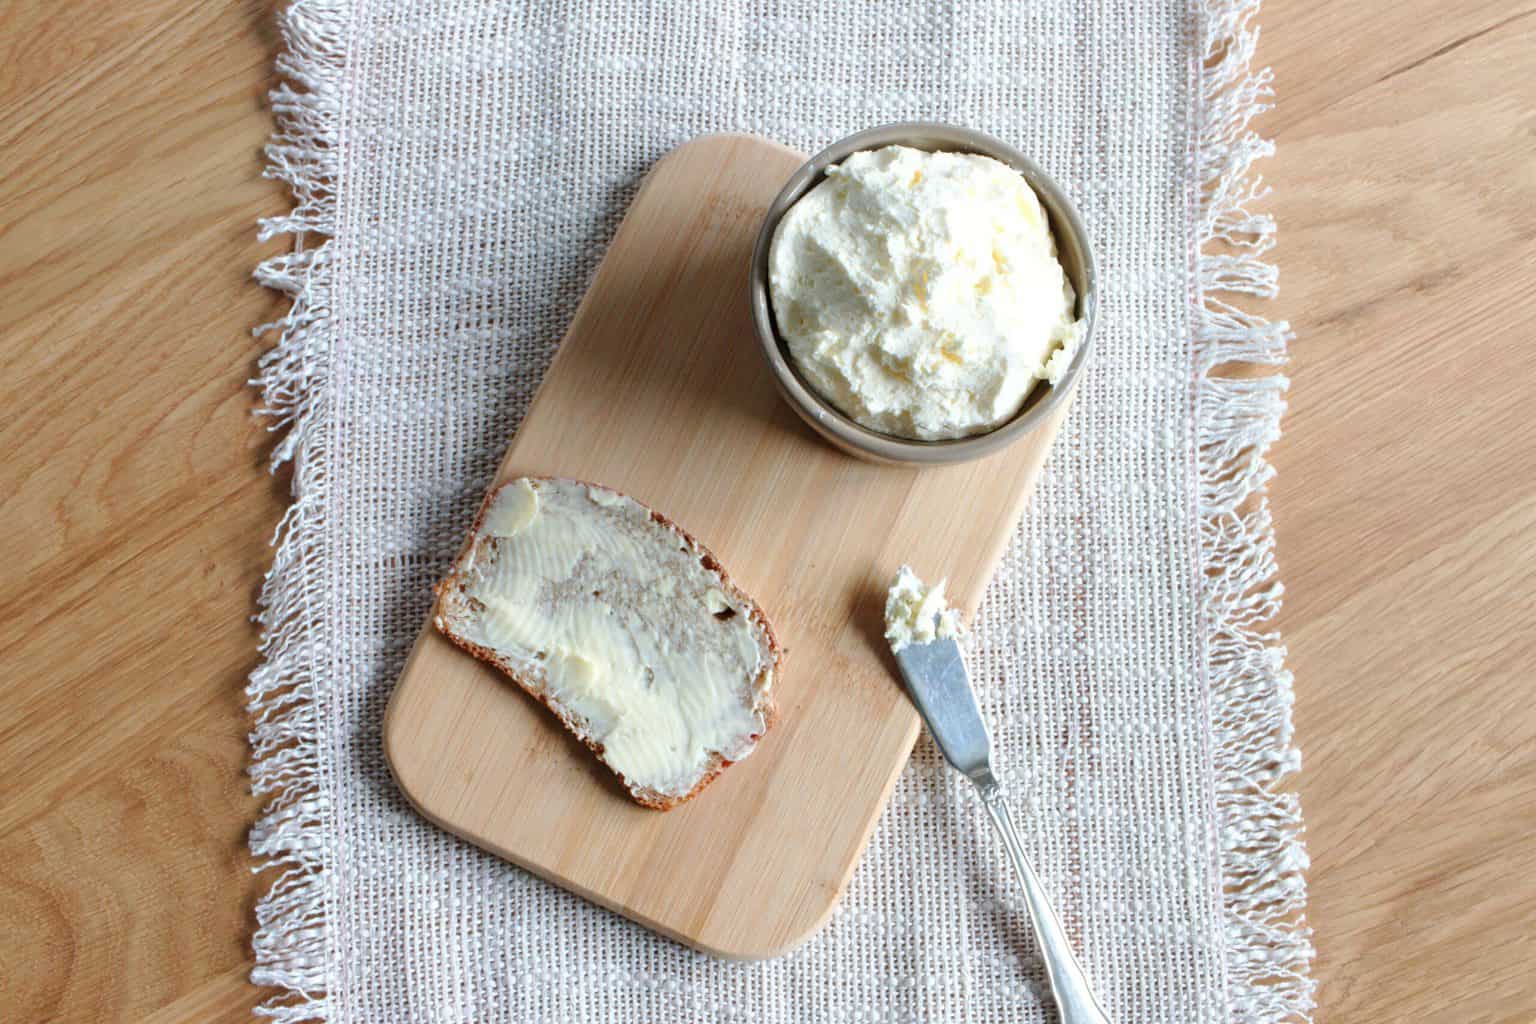
How to make Raw Milk Butter with Kitchenaid
Disclosure: This post contains affiliate links, meaning, at no additional cost to you, we will earn a small commission if you click through and make a purchase. Learn more
Homemade butter from raw milk is easier than it sounds, and this post covers both the health benefits and a genuine Swiss farmhouse method for separating the cream.
Wondering how butter is made from raw milk? This post covers the benefits of raw milk butter and how easy it is to make at home — including the Swiss farmhouse method for separating cream from fresh raw milk.
Ayurveda places great importance on cow milk and cow milk products like yogurt, ghee, and buttermilk — milk has been used as a medicine to nourish and heal the body since ancient times, and ghee is revered in Ayurveda as liquid gold, the best form of fat for the body.
Table of Contents
What Makes Raw Cow Milk So Healthy?
Clean raw milk from pastured cows is a complete, properly balanced food. Unlike processed UHT, homogenized, or pasteurized milk — which is largely devoid of life — raw milk keeps all of its enzymes and nutrients intact. Ayurveda considers these processed milks disruptive to Kapha dosha, the mucous humor.
Raw cow milk from grass-fed cows is rich in protein, containing all 8 essential amino acids, along with CLA (conjugated linoleic acid), vitamins, minerals, enzymes, cholesterol, and beneficial bacteria. CLA in particular is a heavily studied polyunsaturated Omega-6 fatty acid found abundantly in milk from grass-fed cows, with promising health benefits.
Health Benefits of Raw Milk Butter
Raw milk butter, from grass-fed cows, is one of the richest and most absorbable sources of vitamin A. It’s anti-inflammatory thanks to its butyric acid content, good for heart health, energy boosting, rich in vital cholesterol, and important for healthy thyroid and adrenal gland function. This rich yellow butter is also full of vitamins E and K, and contains CLA (conjugated linoleic acid), which is good for fighting cancer and supports immune system health.
To make this butter last longer without refrigeration, it’s usually cooked into ghee.
How to Make Raw Milk Butter?
Ingredients List
- Raw cream from fresh raw milk
- As much as available — the more, the better
Cooking Instructions
Separate the Cream (Swiss Farmhouse Method):
Pour fresh raw milk into a shallow bowl and leave it to set in the fridge overnight. By morning, the cream will have settled on top. Carefully pour off the milk into a pot, leaving the thick, dense cream behind. Collect the cream and freeze it for a few weeks until you have enough — about 1 liter is a good amount to work with.
Thaw the Cream:
Thaw the frozen cream overnight before churning.
Churn:
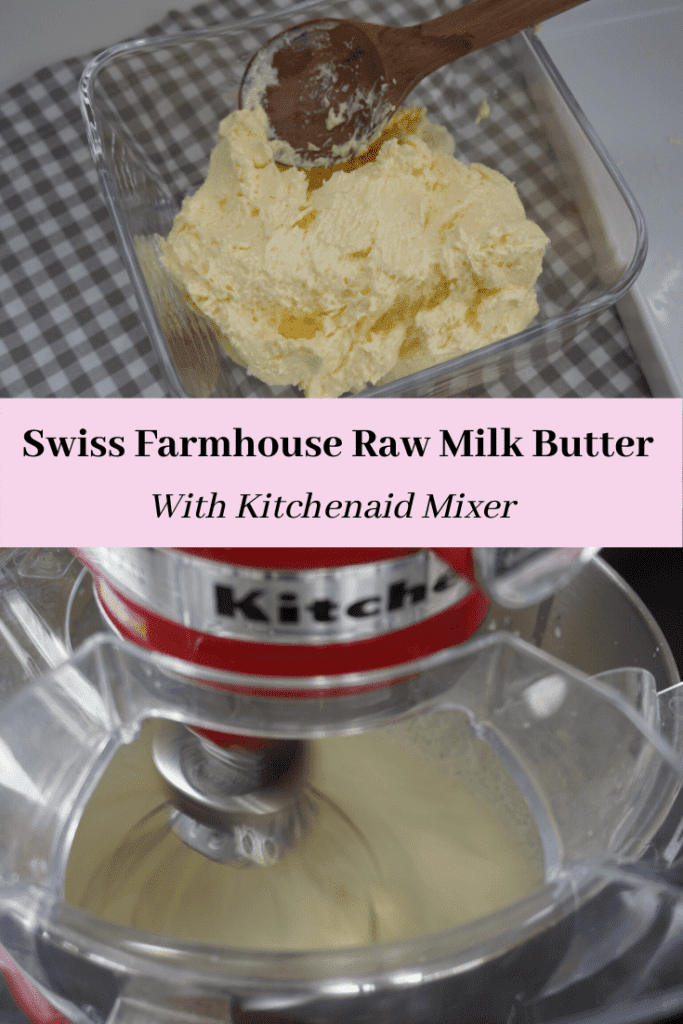
Add the cream to a stand mixer fitted with the wire whisk attachment. Use the splash guard and keep kitchen towels handy, since this splashes a lot. Whisk on the maximum setting — after about 5 minutes the cream will turn to whipped cream, and with continued whisking you’ll hear the sound change as the butter separates from the buttermilk. Switch off the mixer.
Strain:
Pour the contents into a muslin cloth set over a sieve into a jar, then press the butter against the sides with a large wooden spoon or spatula to separate it from the buttermilk.
Rinse:
Return the butter to the stand mixer with a little water and whisk on a low setting to rinse out the remaining buttermilk. Repeat until the water runs clear.
Finish:
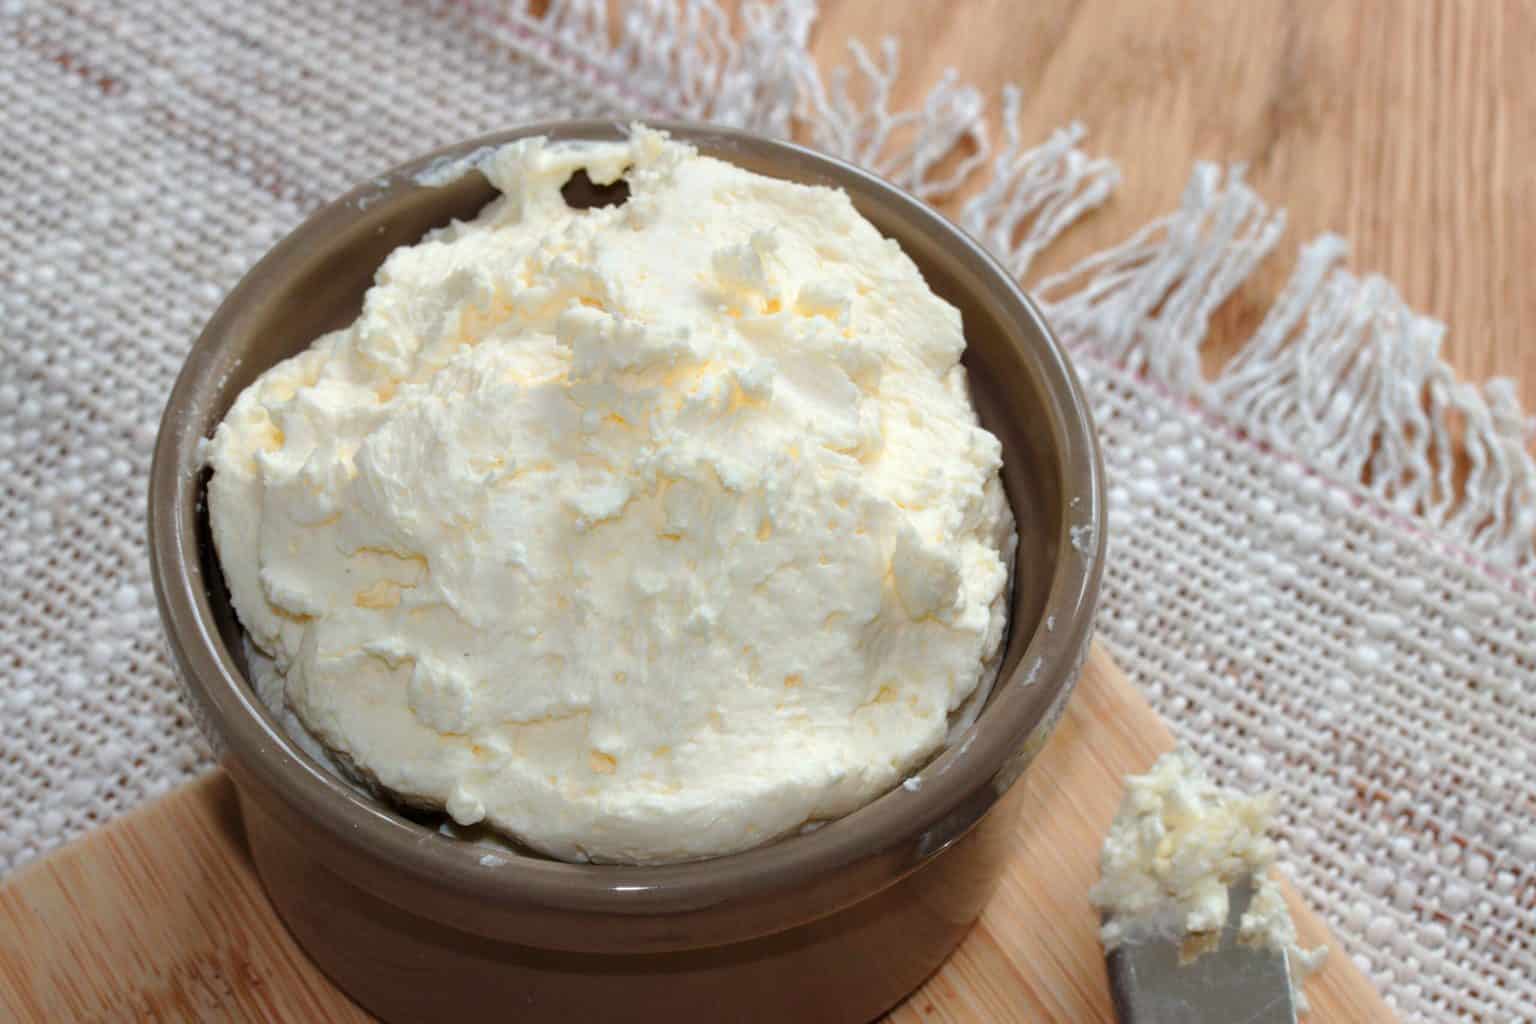
Add salt or herbs if you like, then refrigerate. This butter can also be cooked into ghee for longer storage.
Nothing Goes to Waste
Nothing here goes to waste. Try this:
Reuse the buttermilk: use it in any recipe that calls for buttermilk.
Feed the garden: pour leftover buttermilk onto plants in summer — it’s especially nourishing for curry leaf plants.
Cook it into ghee: for a butter that lasts even longer without refrigeration.
Tips for Making Raw Milk Butter
Churn when it’s cool: try churning the butter early in the morning or late evening, when the room temperature is cooler, especially in summer. If midday is unavoidable, add some ice water partway through.
For longer fridge storage: squeeze out as much water as possible, and add salt and herbs if needed — this helps the butter last longer than a week in the fridge.
Cook it into ghee: this butter makes some of the best-tasting ghee, made entirely from scratch.
A Family Tradition
The Swiss farmhouse method used here for separating cream came from a mother-in-law who once had traditional farm utensils from her family’s dairy farming days — a simple bowl with a small groove and a removable lock attachment that holds back the cream while letting the milk pass through. It’s a small piece of family history that makes this process even easier.
Watch the Video
Recipe Card
How to Make Raw Milk Butter with KitchenAid
5 Stars 4 Stars 3 Stars 2 Stars 1 Star
No reviews
- Total Time: 30
- Yield: 6 servings
- Diet: Vegetarian
Description
Homemade butter from raw milk cream, using a Swiss farmhouse method to separate the cream and a stand mixer to churn it.
Ingredients
- Raw cream from fresh raw milk, as much as available (the more, the better)
Instructions
-
Separate the Cream (Swiss Farmhouse Method):
Pour fresh raw milk into a shallow bowl and leave it to set in the fridge overnight. By morning, the cream will have settled on top. Carefully pour off the milk into a pot, leaving the thick, dense cream behind. Collect the cream and freeze it for a few weeks until you have enough — about 1 liter is a good amount to work with.
-
Thaw the Cream:
Thaw the frozen cream overnight before churning.
-
Churn:
Add the cream to a stand mixer fitted with the wire whisk attachment. Use the splash guard and keep kitchen towels handy, since this splashes a lot. Whisk on the maximum setting — after about 5 minutes the cream will turn to whipped cream, and with continued whisking you’ll hear the sound change as the butter separates from the buttermilk. Switch off the mixer.
-
Strain:
Pour the contents into a muslin cloth set over a sieve into a jar, then press the butter against the sides with a large wooden spoon or spatula to separate it from the buttermilk.
-
Rinse:
Return the butter to the stand mixer with a little water and whisk on a low setting to rinse out the remaining buttermilk. Repeat until the water runs clear.
-
Finish:
Add salt or herbs if you like, then refrigerate. This butter can also be cooked into ghee for longer storage.
Notes
Churn in a cool room, ideally early morning or late evening in summer, or add ice water partway through if churning at midday. Squeeze out excess water and add salt to help the butter last longer than a week in the fridge.
- Prep Time: 10
- Cook Time: 20
- Category: Pantry Staples
Nutrition
- Serving Size: 6
- Calories: 100
- Fat: 11

Frequently Asked Questions
Freezing lets you collect cream over several weeks until you have enough to churn a good batch — about 1 liter works well. Thaw it overnight before churning.
You’ll hear the sound of the mixer change to a splashing noise, and the butter will visibly separate and cling to the whisk attachment.
Yes — use it in any recipe that calls for buttermilk, or pour it onto garden plants in summer. It’s especially nourishing for curry leaf plants.
Your feedback is valuable
If you try this recipe and love it, I would love if you come back and gave it 5 stars! Thank you so much for visiting Vital Fair Living – we’re so happy you’re here! I would love it if you can share this recipe using the social media buttons you see next to the post.