Disclosure: This post contains affiliate links, meaning, at no additional cost to you, we will earn a small commission if you click through and make a purchase. Learn more

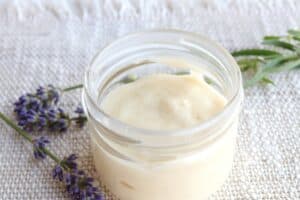
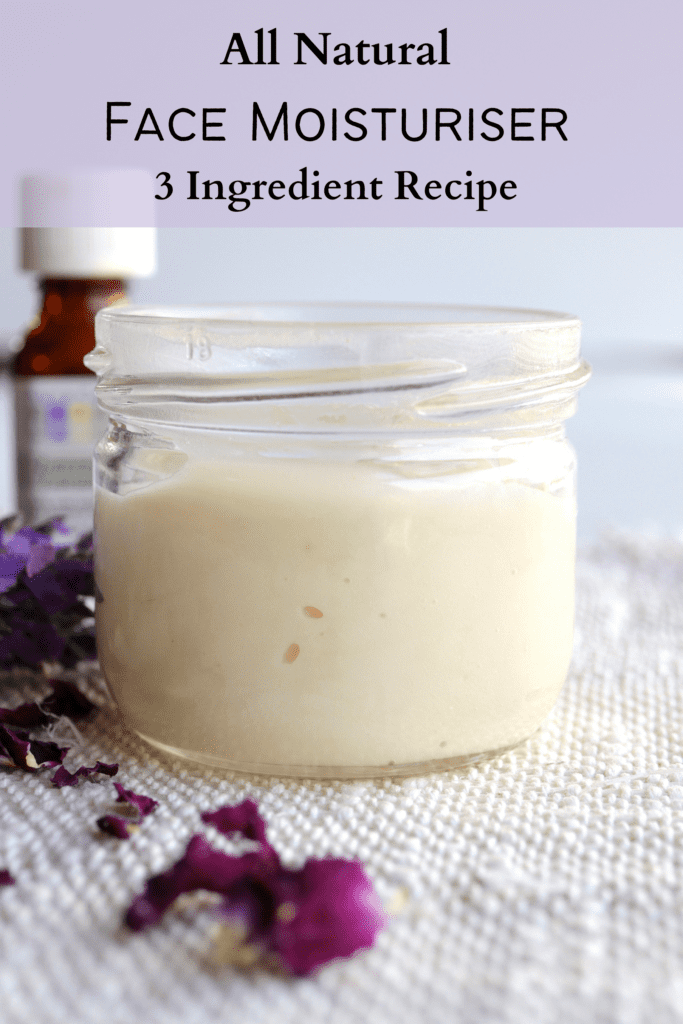
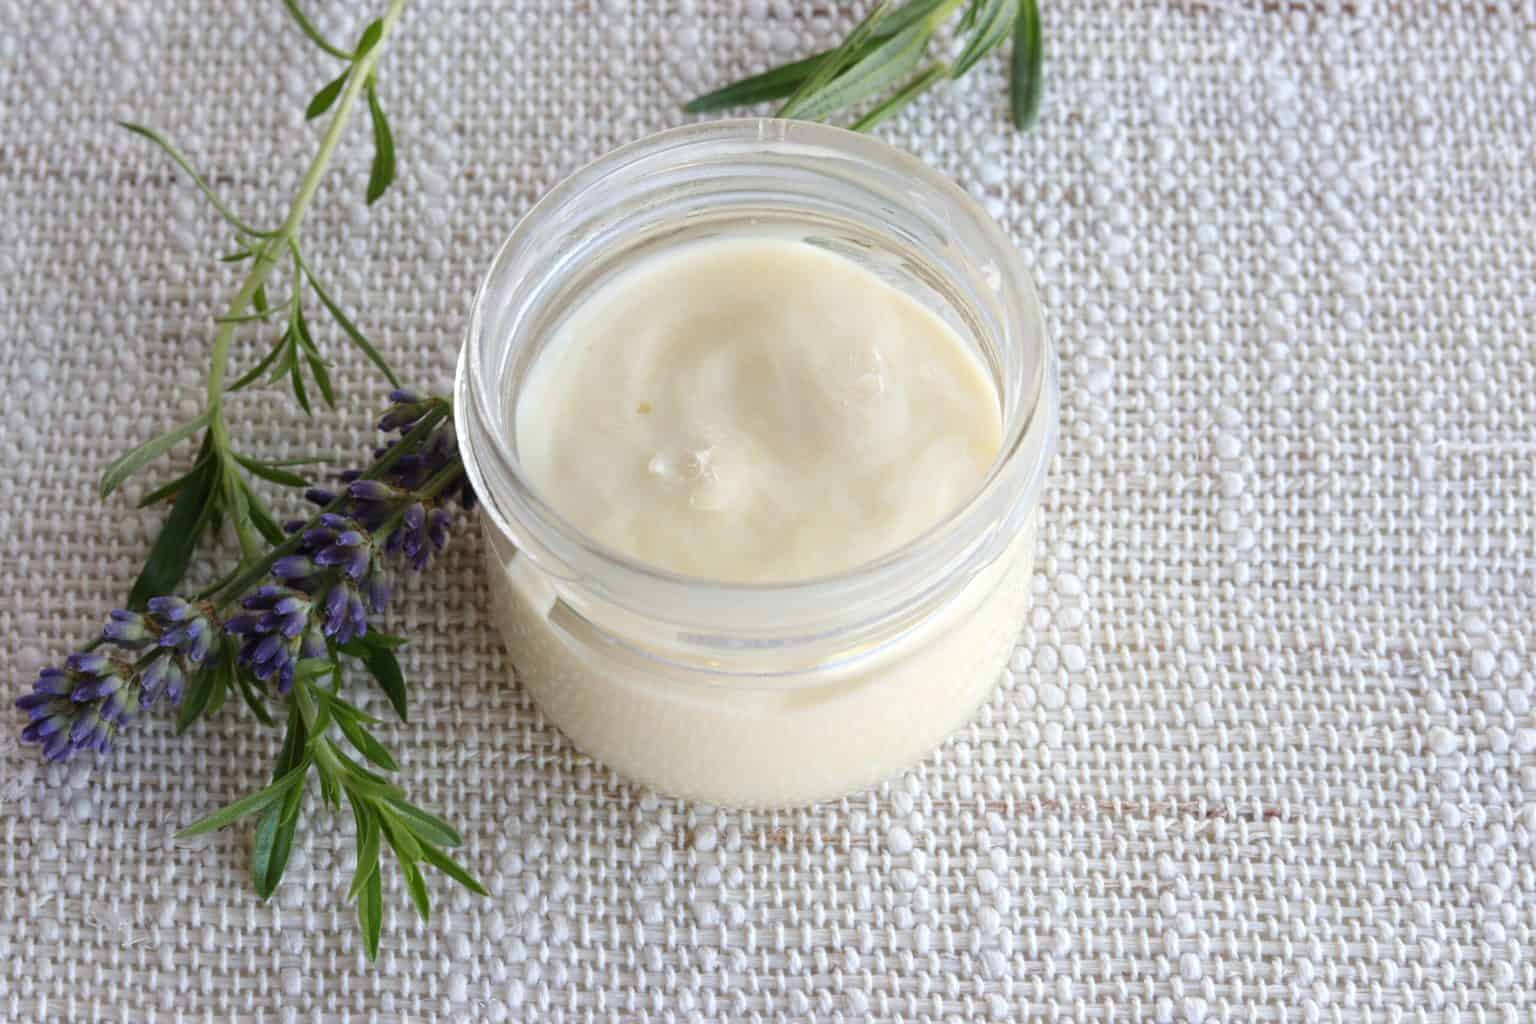
This non-greasy face moisturiser, made with just shea butter and jojoba oil, comes together with no fancy equipment — and it’s simple enough to fold into a homemade Christmas gift basket too.

Non-Greasy Face Moisturiser

In the northern hemisphere, we are deep into the winter months. Part of a daily skin care routine right now is using a non-greasy face moisturiser for dry skin.

This homemade face moisturiser is quite simple to make and doesn’t require any fancy equipment. It comes together easily, and can even be added to a Christmas gift basket.

Table of Contents

How to Make Non-Greasy Face Moisturiser

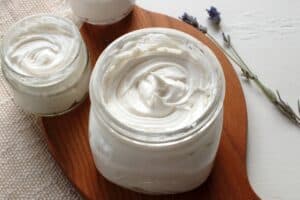
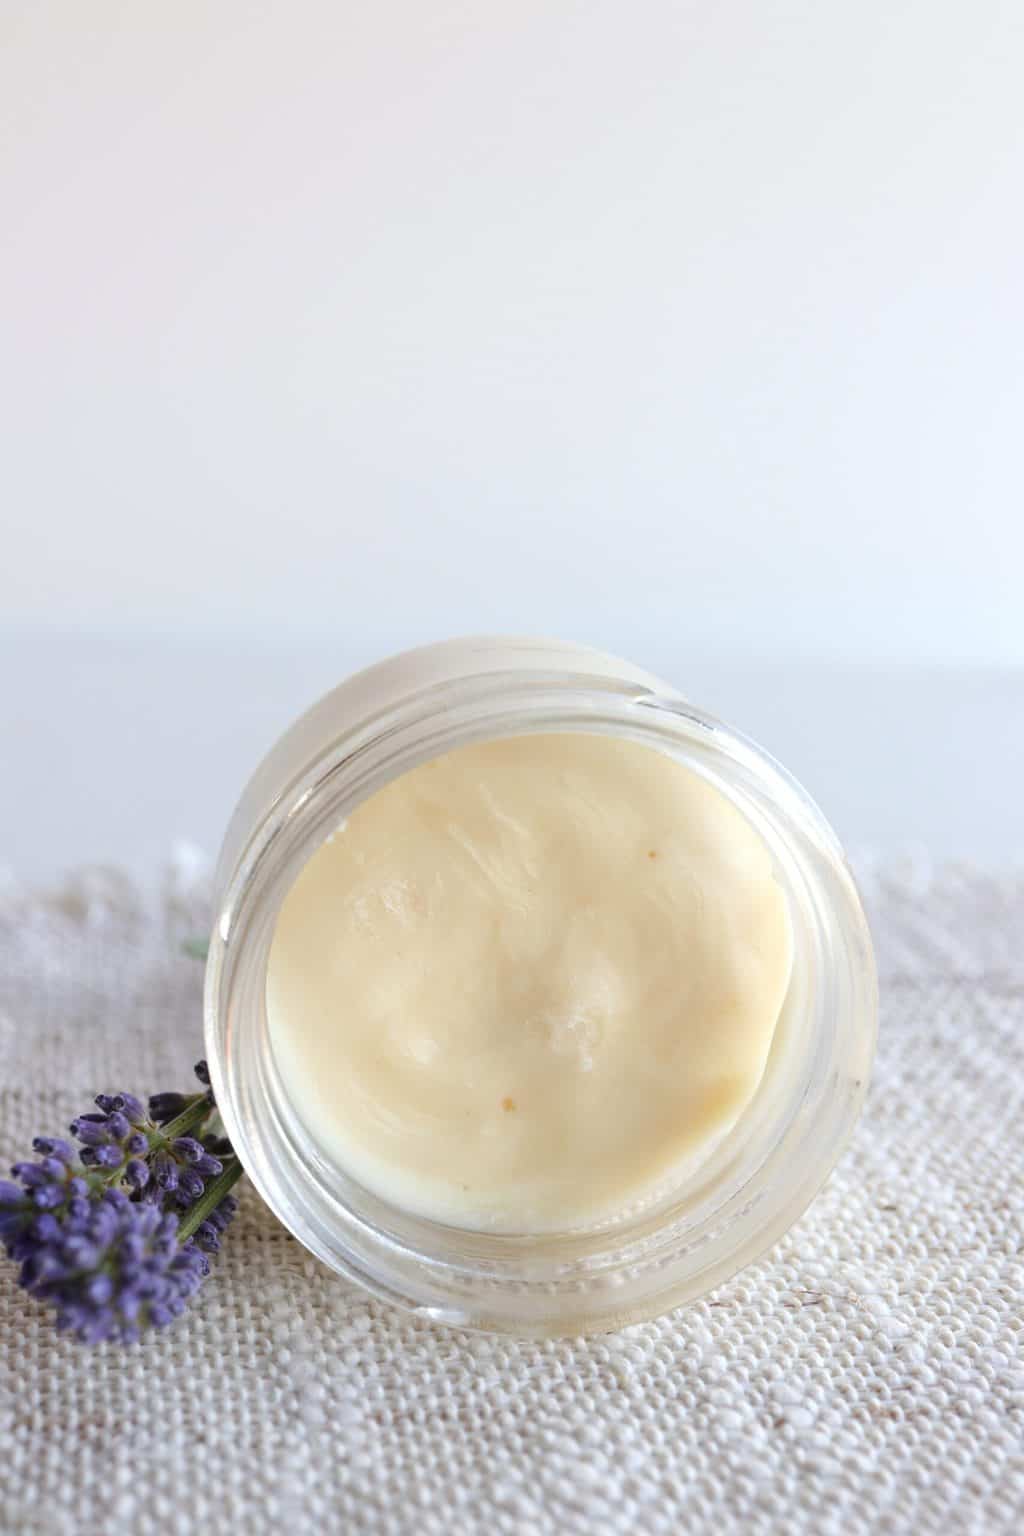
The process is simple: melt some shea butter with a little jojoba oil, using a homemade double boiler. It is easy to do by resting a small glass or metal bowl in a pot of water on the stove. Once melted, cool it until the edges start to solidify, then add a few drops of a favorite essential oil and blend. A hand mixer on high speed works well, blended until fairly creamy. These homemade creams are best stored in sterilized glass jars at room temperature.

Tips for Making Homemade Face Moisturiser

    1. Solidify the fat for about 10 minutes in the freezer before blending it to a smooth consistency.
    2. In case, its your first time in trying out homemade creams, then don’t worry too much if you have frozen it too long. You can always remelt it and then whip it again when its softer.
    3. Store homemade cosmetics in a glass jar when you add essential oils. Because the essential oils can leech into plastic jars after a while and you will ingest it through application.
    4. I usually store oil based lotions and creams at room temperature and they last for months.
    5. Homemade moisturisers may soften up slightly during summer but it is still good to use. They can turn grainy due to temperature difference of heat and cold. But you can still use them by massaging them in your palms.
    6. You can use a combination of Jojoba and fractionated coconut oil as the carrier oil. Or any other carrier oil of your choice that suits your skin type.
    7. You can also substitute Shea butter with Mango butter.

    WARNING: If you are using citrus essential oils on the face, avoid direct sunlight for 24 hours due to photosensitivity.

    Non-greasy Face Moisturiser

    Ingredients for Non-Greasy Face Moisturiser

    Disclosure: This post contains affiliate links, meaning, at no additional cost to you, we will earn a small commission if you click through and make a purchase. Learn more

    Shea Butter

    Shea butter is anti-fungal, anti-bacterial, and anti-inflammatory, and good for all skin types. It can help even out skin tone, lessen acne scars, tighten skin, and improve discoloration — and it’s probably the ultimate skin moisturizer, showing up in more lotions and conventional cosmetics than almost any other ingredient. Shea butter is incredible for dry skin, and can even be extremely helpful for cracked skin.

    Jojoba Oil as a Carrier Oil

    This recipe calls for 2 tablespoons (1/8 cup) of oil. In this recipe I am using jojoba oil. Usually, I prefer to mix in jojoba and fractionated coconut oil or sweet almond oil. These carrier oils have a mild scent and are very moisturising for the skin. 

    Other carrier oil options include argan oil, avocado oil, grape seed oil, hemp seed oil, or rose hip oil.

    Jojoba oil is an excellent carrier oil which is moisturising and is quickly absorbed. It soothes the skin and protects against sun burn. I use jojoba oil for quite a lot of my homemade cosmetics and lotions.

    Non-greasy Face Moisturiser

    What Essential Oils Can I use on my Face ?

    Essential oils are used for making your skin care products smell nice, in addition to that they also have therapeutic properties. You will need very little of essential oils as they are very concentrated and potent. Therefore, we dilute them before using them. Facial skin is very sensitive, therefore its best to add a carrier oil before using essential oils for your face.

    Choosing your Essential Oils

    Some of my favourites are

    • Lavender – great for dry, ageing, oily, normal, or acne-prone skin

    • Tea tree – great for normal, oily, or acne-prone skin

    • Frankincense – great for anti-ageing, skin imperfections, wrinkles, and fine lines 

    • Rose – great for sensitive skin, fine lines, crows feet, and wrinkles 

    • Lemon – great for oily and greasy skin 

    • Sandalwood – great for all skin types 

    How to use Homemade Non-Greasy Face Moisturiser?

    Face moisturiser is best when used after washing the face or after shower when they absorb the best. You will need a small amount, so take a small portion to the palm and massage it on your face.

    How long will DIY Face Cream Last ?

    If stored in an airtight container, your face moisturizer will last for one year. Store at room temperature out of direct sunlight. 

    Tips

    Solidify before blending: about 10 minutes in the freezer helps the fat reach the right consistency before whipping it smooth.
    Don’t worry if it’s frozen too long: just remelt and whip again once it’s softer — a common first-timer hiccup.
    Use glass, not plastic: essential oils can leach into plastic jars over time, and that leaching gets absorbed through the skin during application.
    Room temperature storage works well: oil-based lotions and creams stored this way last for months.
    A little grain is normal: summer heat can soften these moisturisers slightly, and temperature swings can turn them a bit grainy — still perfectly usable, just massage them in the palms first.

    Homemade Non-Greasy Face Moisturiser

    Substitutions to Know

    A combination of jojoba and fractionated coconut oil works well as the carrier oil, or any other carrier oil suited to your skin type. Shea butter can also be substituted with mango butter if that’s what’s on hand.

    A note of caution: if using citrus essential oils on the face, avoid direct sunlight for 24 hours afterward, since these oils can cause photosensitivity.

    Video Tutorial

    Recipe Card

    Print
    clock clock iconcutlery cutlery iconflag flag iconfolder folder iconinstagram instagram iconpinterest pinterest iconfacebook facebook iconprint print iconsquares squares iconheart heart iconheart solid heart solid icon
    Non-greasy Face Moisturiser

    Non-Greasy Face Moisturiser


    5 Stars 4 Stars 3 Stars 2 Stars 1 Star

    No reviews

    • Author: Chitra S.
    • Total Time: 15 Minutes
    • Diet: Gluten Free

    Ingredients

    Scale
    • 1/4 cup Shea butter  
    •     2 tablespoon Jojoba oil  
    •     5 drops Lavender  
    •     5 drops Sandalwood  
    •     5 drops Frankincense

    Instructions

    1. In a  glass bowl add Shea butter and jojoba oil.
    2. Set the glass bowl over a pot of boiling water to create a double boiler. Melt all ingredients together.
    3.  Cool the molten fat in the refrigerator for 10-15 minutes, just to the point that the mixture starts to solidify and become translucent. 
    4. Add the essential oils and mix it with the help of a hand held mixer until it becomes creamy and soft. 
    5. Store in an airtight glass container at room temperature. 

    Notes

    If you are using citrus essential oils avoid direct sunlight, as these oils are photo sensitive.

    • Prep Time: 5 Minutes
    • Cook Time: 10 Minutes
    • Category: Cosmetics
    • Method: Stove Top
    Frequently Asked Questions

    About a year, if stored in an airtight glass container at room temperature, out of direct sunlight.

    Yes — a mix of jojoba and fractionated coconut oil works well as the carrier oil, and mango butter can stand in for shea butter.

    Essential oils can leach into plastic containers over time, and that leaching gets absorbed through the skin during use — glass avoids the issue entirely.

    Your feedback is valuable

    If you try this recipe and love it, I would love if you come back and gave it 5 stars! Thank you so much for visiting Vital Fair Living – we’re so happy you’re here! I would love it if you can share this recipe using the social media buttons you see next to the post.

    Leave a Reply

    Your email address will not be published. Required fields are marked *

    Recipe rating 5 Stars 4 Stars 3 Stars 2 Stars 1 Star

    We don’t spam! Read our privacy policy for more info.

    Leave a Reply

    Your email address will not be published. Required fields are marked *

    Recipe rating 5 Stars 4 Stars 3 Stars 2 Stars 1 Star