How to make Ghee from Raw Milk Butter
Disclosure: This post contains affiliate links, meaning, at no additional cost to you, we will earn a small commission if you click through and make a purchase. Learn more
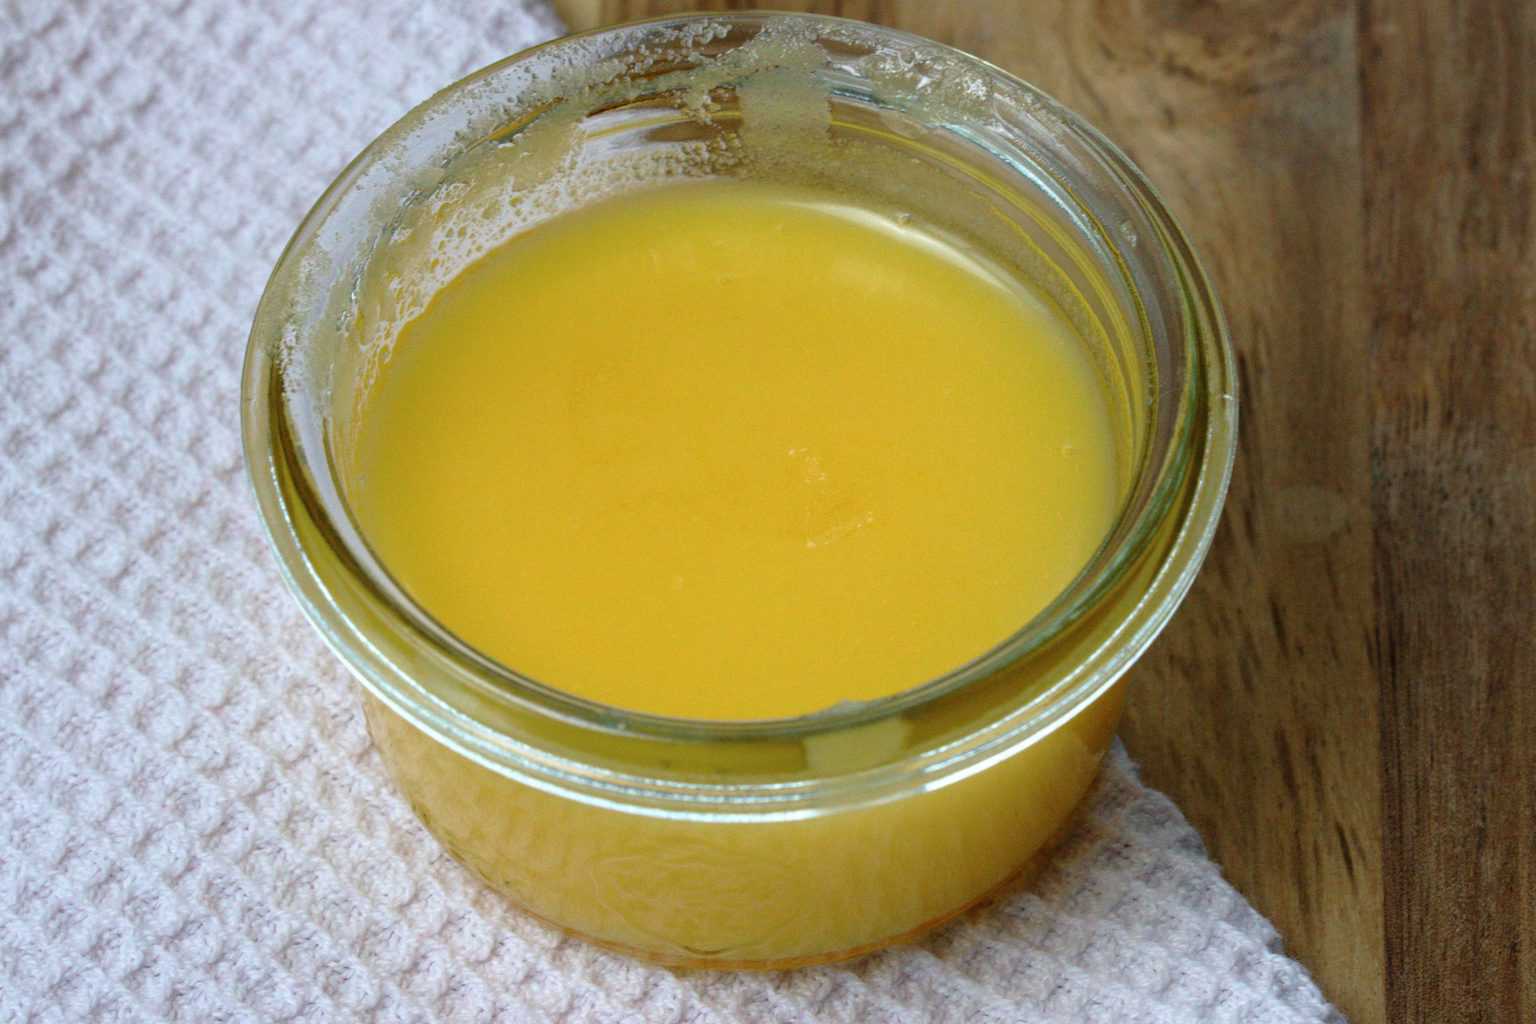
Ghee — called liquid gold in Ayurveda — is easy to make at home from raw milk butter, and comes with real health benefits worth knowing about before you start.
Ayurveda has grown in popularity as a holistic medicine in the West over the past few decades, and alongside it, awareness of ghee as a superfood has grown too. Ghee is made from butter — in this post, we’ll look at how to make ghee from raw milk butter.
In Ayurveda, ghee is called liquid gold because of its healing potency. I’m not a health practitioner, but from personal experience, I take ghee to cleanse the body and improve digestion — years ago, I even took medicated ghee under an Ayurvedic doctor’s supervision while trying to conceive. There are many benefits to adding ghee to your diet, which are worth touching on before getting into how to make it.
Table of Contents
Rich in Fat-Soluble Vitamins
Ghee can help boost intake of vitamin A, vitamin E and vitamin K — nutrients that play a role in everything from healthy vision to glowing skin, which makes it worth adding to the diet daily.
Lactose and Casein Free
Because milk solids are separated out during cooking, ghee ends up lactose and casein free — the two elements most often responsible for milk intolerance. That’s why a lactose-intolerant family member here can enjoy ghee without any issues.
More Reasons to Add Ghee to Your Diet
Contains conjugated linoleic acid (CLA): ghee is rich in CLA, a fatty acid linked to a long list of health benefits — CLA is higher in grass-fed cow’s milk, so ghee made from grass-fed butter is worth seeking out.
High in butyric acid: butyrate, or butyric acid, is a short-chain fatty acid that plays a central role in gut health, and some studies suggest it may help support healthy insulin levels.
How to Make Ghee from Raw Milk Butter?
Ingredients List
- 500g raw milk butter
- 3–4 cloves (optional)
- Heavy bottom pot
- Sieve & thin muslin cloth
- Sterilized glass jars
Cooking Instructions
Melt the Butter:
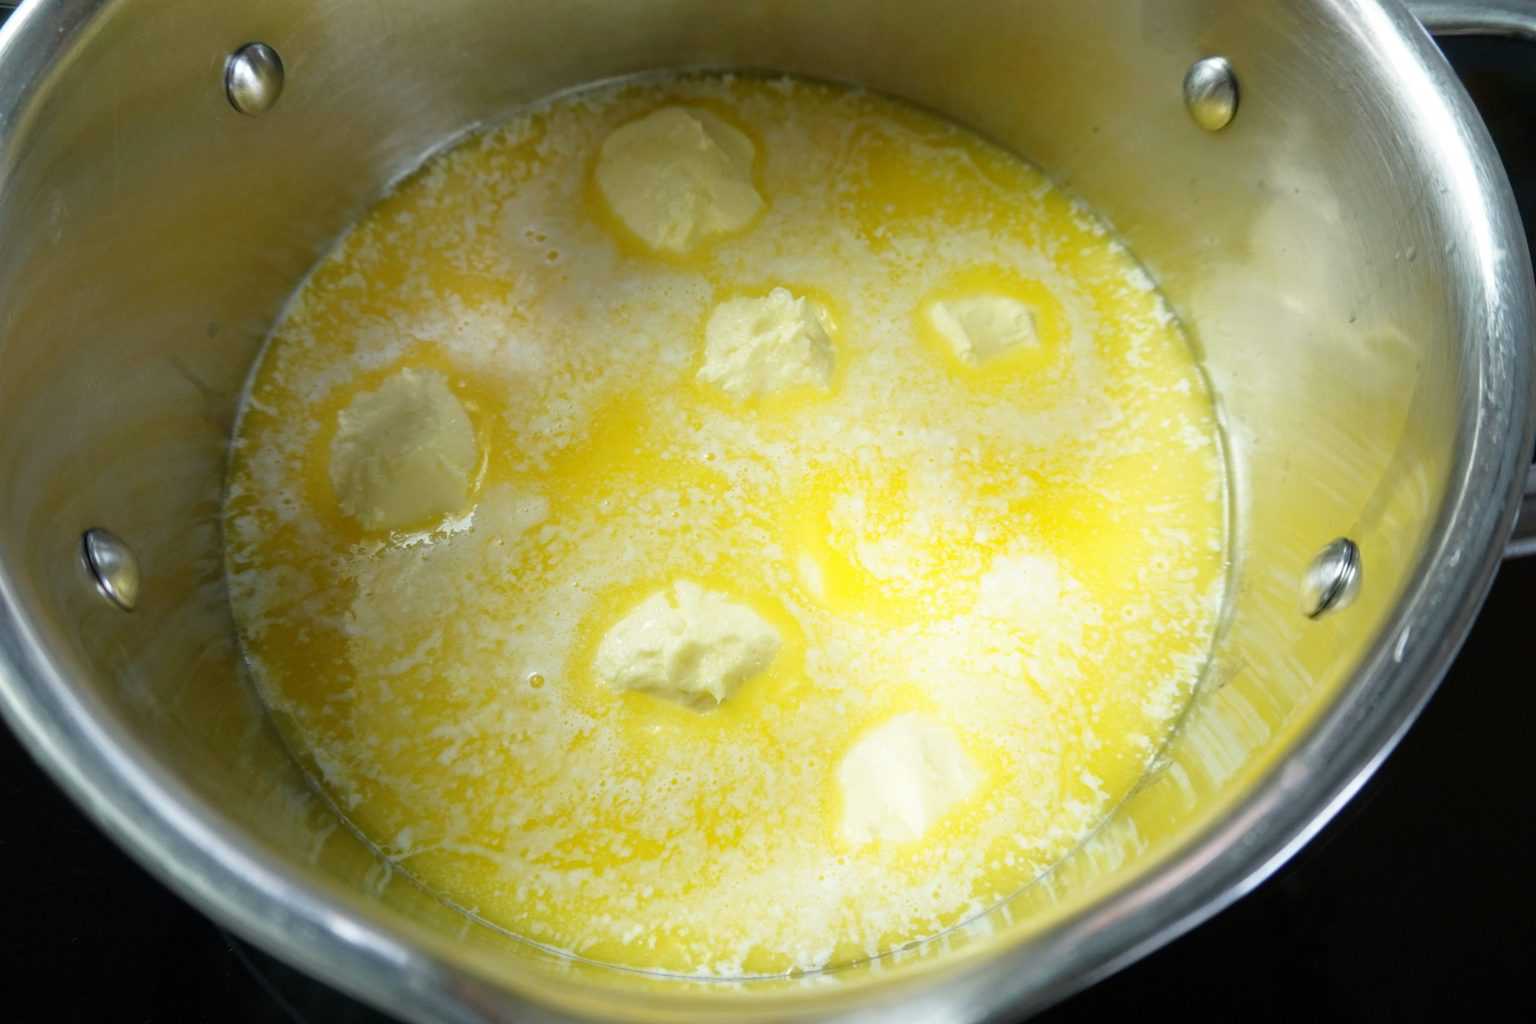
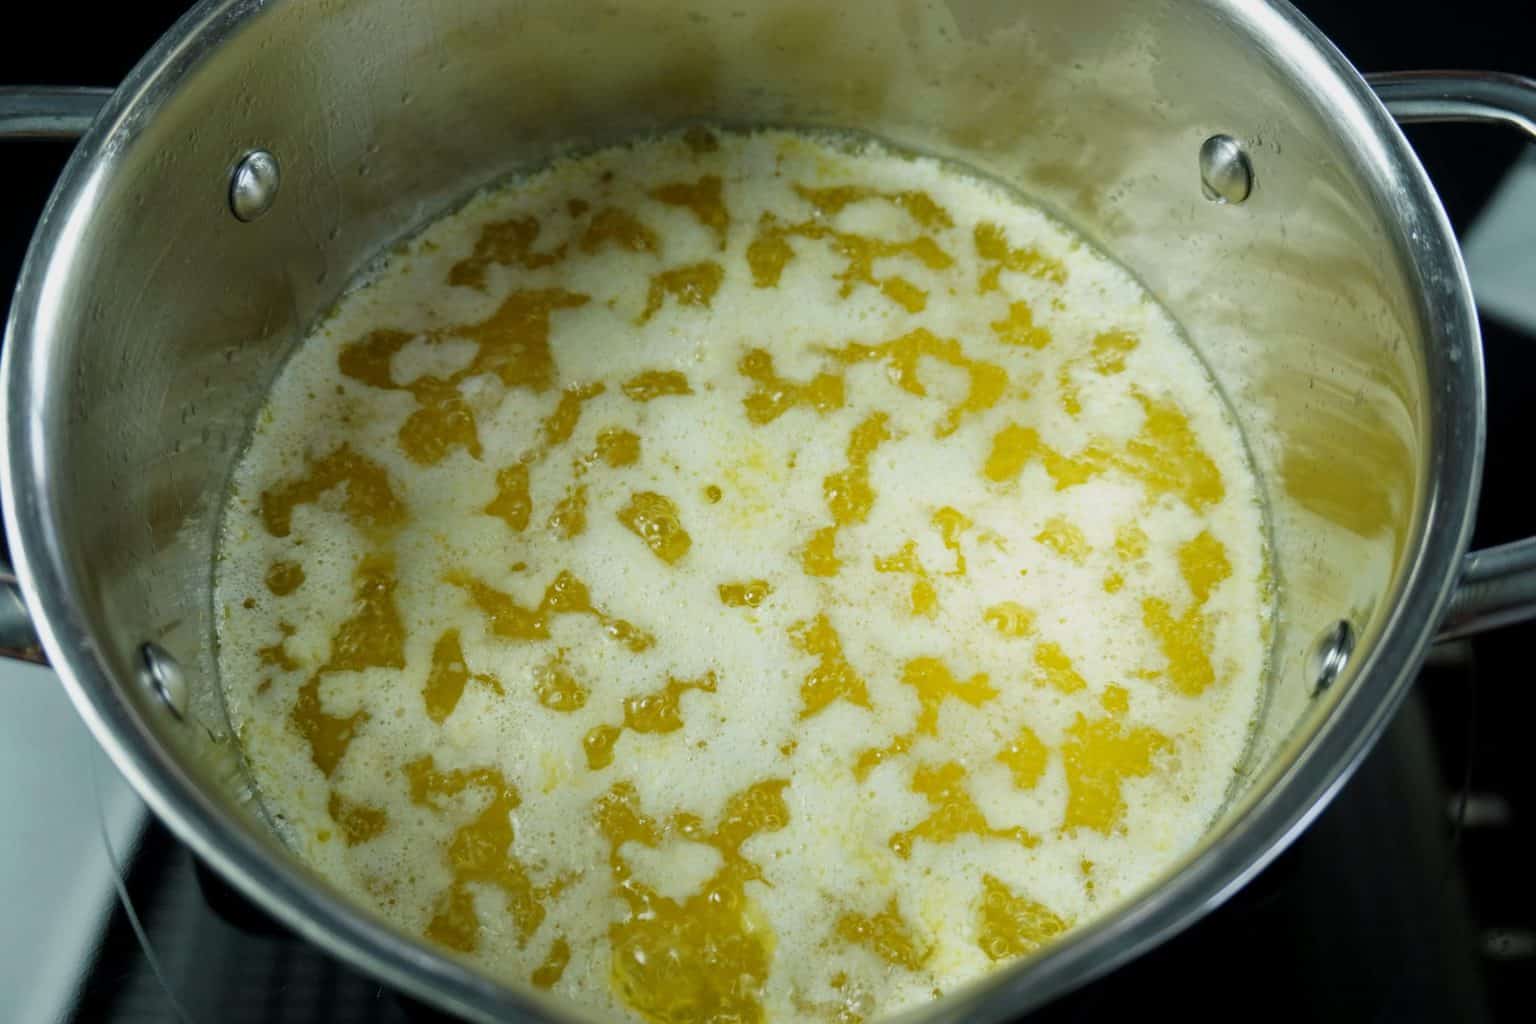
Melt the butter in a heavy-bottomed pot over medium-low heat. Avoid a high flame, since burnt butter makes for burnt-smelling ghee — medium-low heat gives the best flavor.
First Foaming Stage:
As the butter melts, it will start to foam — that white foam is the milk solids. Keep heating at the same temperature as the water in the butter evaporates; expect a few splashes. If making ghee the traditional way, leave the foam undisturbed; it can be scooped out instead, though that’s an extra step many skip.
Second Foaming Stage:
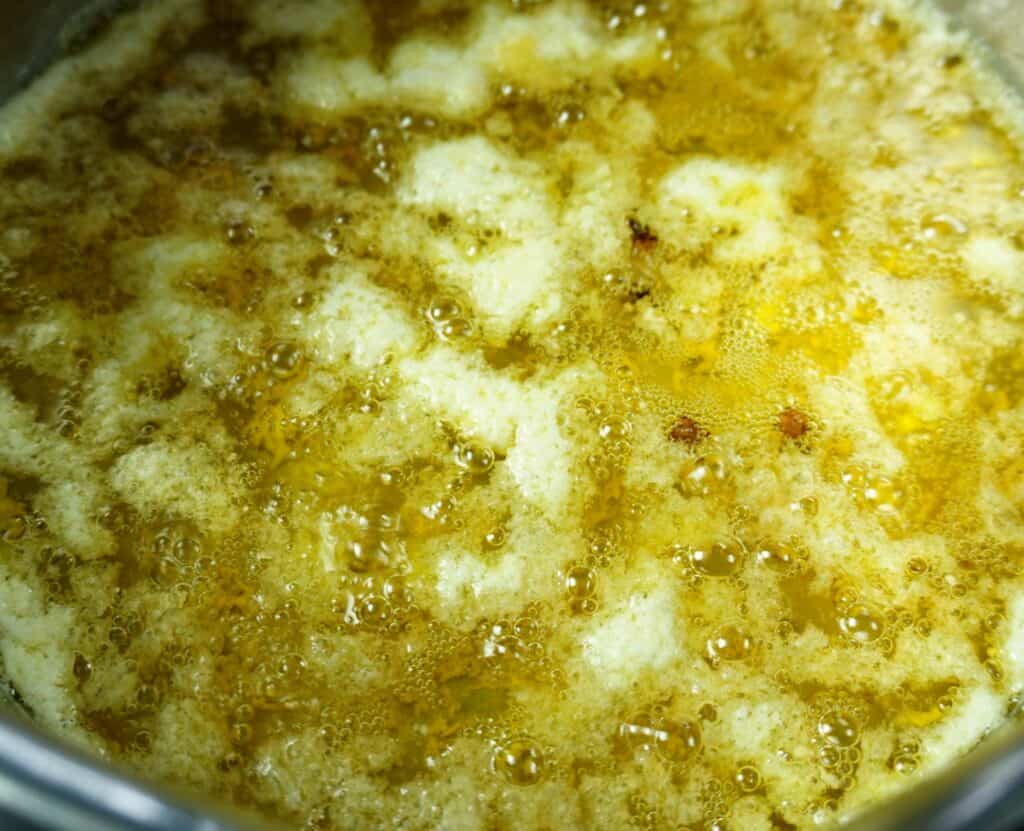
Continue heating as the butter clarifies further. Once the milk solids settle, the clarified butter goes through a second foaming stage and begins to boil gently.
Watch for Doneness:
As the butter finishes clarifying, larger bubbles will start to form and a nutty aroma will develop. A couple of cloves can be added here for extra flavor, if you like. Once the bubbles get larger, switch off the heat and move the pot away from the stove right away — residual heat can still burn the ghee if it’s left in place.
Filter and Store:
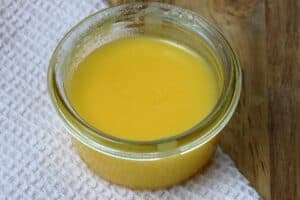
Filter the ghee through a thin muslin cloth to catch any small floating particles, then pour into dry glass jars and close tightly.
Ghee for Deep Frying and High-Heat Cooking
Ghee has a very high smoking point — up to 250°C (482°F) — thanks to its abundance of medium-chain fatty acids, so it holds up to high heat far better than oils that break down and turn toxic at similar temperatures. That makes it an ideal choice for:
Deep frying: especially for traditional Indian sweets, many of which are fried in pure ghee.
High-heat cooking: sautéing and pan-frying where other oils might smoke or break down.
Tips for Making Perfect Ghee
Test for leftover water: a trick passed down from my mother — drop in a large crystal of salt; if it settles and stays at the bottom of the pot, the ghee is ready.
Try fresh Moringa leaves: some people in India add these instead — the leaves will splutter when the ghee is done, signaling it’s time to take it off the heat.
Choose the traditional method: leaving the milk solids undisturbed rather than scooping out the foam is less fuss and gives a nice nutty flavor.
Two Ways to Make Ghee
The best ghee, for both health and flavor, comes from raw cow’s milk. There are two ways to make it: the traditional method leaves the milk solids undisturbed as the butter melts and cooks, letting them settle so they can be filtered out afterward — this gives the ghee a nutty flavor. The second method removes the milk solids (the foam) as they separate while the butter melts. Both produce a similar texture, but the traditional method is generally preferred.
Storing Ghee
Ghee doesn’t need refrigeration — the cooking process removes all the moisture from the butter, leaving pure fat that’s shelf-stable at room temperature. It has a long shelf life too; large batches stored at room temperature easily keep for 6 months or more, which is handy if ghee gets used often, especially for Indian cooking.
A Long Tradition
Ghee has been used in India for thousands of years — for cooking, in Vedic religious ceremonies, and in healing practices. Ghee mixed with honey and blessed with mantras is traditionally the very first food given to newborns, even before mother’s milk, which speaks to just how central it is in Ayurvedic tradition.
Watch the Video
Recipe Card
How to Make Ghee from Raw Milk Butter
5 Stars 4 Stars 3 Stars 2 Stars 1 Star
No reviews
- Total Time: 60
- Yield: 50 servings 1x
- Diet: Vegetarian
Description
Traditional homemade ghee made from raw milk butter — called liquid gold in Ayurveda, and simple to make with just one ingredient and a little patience.
Ingredients
- 500g raw milk butter
- 3 to 4 cloves (optional)
Instructions
-
Melt the Butter:
Melt the butter in a heavy-bottomed pot over medium-low heat. Avoid a high flame, since burnt butter makes for burnt-smelling ghee — medium-low heat gives the best flavor.
-
First Foaming Stage:
As the butter melts, it will start to foam — that white foam is the milk solids. Keep heating at the same temperature as the water in the butter evaporates; expect a few splashes. If making ghee the traditional way, leave the foam undisturbed; it can be scooped out instead, though that’s an extra step many skip.
-
Second Foaming Stage:
Continue heating as the butter clarifies further. Once the milk solids settle, the clarified butter goes through a second foaming stage and begins to boil gently.
-
Watch for Doneness:
As the butter finishes clarifying, larger bubbles will start to form and a nutty aroma will develop. A couple of cloves can be added here for extra flavor, if you like. Once the bubbles get larger, switch off the heat and move the pot away from the stove right away — residual heat can still burn the ghee if it’s left in place.
-
Filter and Store:
Filter the ghee through a thin muslin cloth to catch any small floating particles, then pour into dry glass jars and close tightly.
Notes
A large crystal of salt dropped into the pot is a traditional way to check that all the water has evaporated — it will settle at the bottom once the ghee is ready. Store at room temperature; it keeps for 6 months or more.
- Prep Time: 30
- Cook Time: 30
- Category: Pantry Staples
- Cuisine: Indian
Nutrition
- Serving Size: 50
- Calories: 130
- Fat: 15
Frequently Asked Questions
No — the cooking process removes all the moisture from the butter, leaving pure fat that doesn’t need refrigeration and stays shelf-stable at room temperature.
Yes — ghee has a very high smoking point (up to 250°C / 482°F) thanks to its medium-chain fatty acids, so it holds up to high heat far better than most oils, making it ideal for deep frying.
Larger bubbles forming and a nutty aroma are the key signs. A classic trick is dropping in a large salt crystal — if it settles at the bottom of the pot, the ghee is ready.
Your feedback is valuable
If you try this recipe and love it, I would love if you come back and gave it 5 stars! Thank you so much for visiting Vital Fair Living – we’re so happy you’re here! I would love it if you can share this recipe using the social media buttons you see next to the post.


3 Responses
Hi Chitra ! Lovely to enjoy kitchen time with you! Greetings from Luzern! Hilary
Thanks Hilary. Hope we can meet soon. Will get in touch.
Keep up the fantastic work!